Thursday, 11 April 2013

Shells On The Beach Card

I had a lovely afternoon on Tuesday when I met up with fellow Design Team member Kirsty Goodwill. Kirsty's "The Arty One" on the DT and our styles couldn't be more different, we had such a laugh though. Kirsty was very generous with her knowledge and inspired me no end, especially in regards to the Gelli plate. I've had a good old play with it today and I'm really pleased with what I've made. I'll do a blog post on it once I've done this month's samples.

Talking of this month's samples, this is the first card I made with the shell stamps.


I used Snow White Centura Pearl card for the scene a it has a lovely sheen. I thought this would look particularly good on the shells.

I think it's the first time I've used my new Detail Copper embossing powder by Stampendous. I bought it after seeing it on a gorgeous card by Julie Owens, who was one of the Top 5 on the Clarity Challenge Blog last month. Although I've been embossing for years it's not a colour I'd bought before but it makes a nice change from using gold and I thought it would work really well on this card.

I stamped and embossed the shells first, then covered them up with a mask so that I could create the beach scene. When that was done I coloured them in with ProMarkers.

The weathered wood is a printable background I bought from the Silhouette Store. I sized it to fit the card and then added some Old Paper Distress Ink to take away some of the whiteness.

Once I'd assembled the card it was looking a bit plain so I had the idea of shrink plastic shells.


The shells are really easy to cut out so they're perfect for shrink plastic. That then gave me the idea for my next card where the shrink plastic shells are the main focal point.

Stamps Used

Lynne
x

Tuesday, 9 April 2013

Wedding Card - Douglas and Annabel's Special Day!

I just had to blog this one first as it caused such a stir at the weekend. I had lots of comments on Facebook about it and my Crafty Little Blog has never had so many visitors.....


...sadly it wasn't due to my card making genius, but a bouquet of flowers!  lol

It was all going so well, until they zoomed in on the bouquet and Barbara Gray got the giggles, this was closely followed by risqué remarks from Nigel. By then I was in fits of laughter and Hubby was saying, "Told you, told you". Sorry Barbara, maybe this was one of those times when I should have listened to him. Still we'd have all missed out on a good giggle if I had.

The idea for the card actually came from my Mum when she was up for the Harrogate show. I wasn't convinced at first but after we'd stamped it out I really liked it.

I scanned that image into my Silhouette Studio and sized an arch shaped card blank to fit the scene. Once I had that cut out I just had to stamp it onto it and colour it in with my ProMarkers.

I wanted to give Lily a bouquet to make her look more like a bride, but after looking through my Clarity stamps the only one I had that was suitable was the long floral flourish from the Corners and Flourishes Set that Linda Spencer used on her fab Hen Party card.


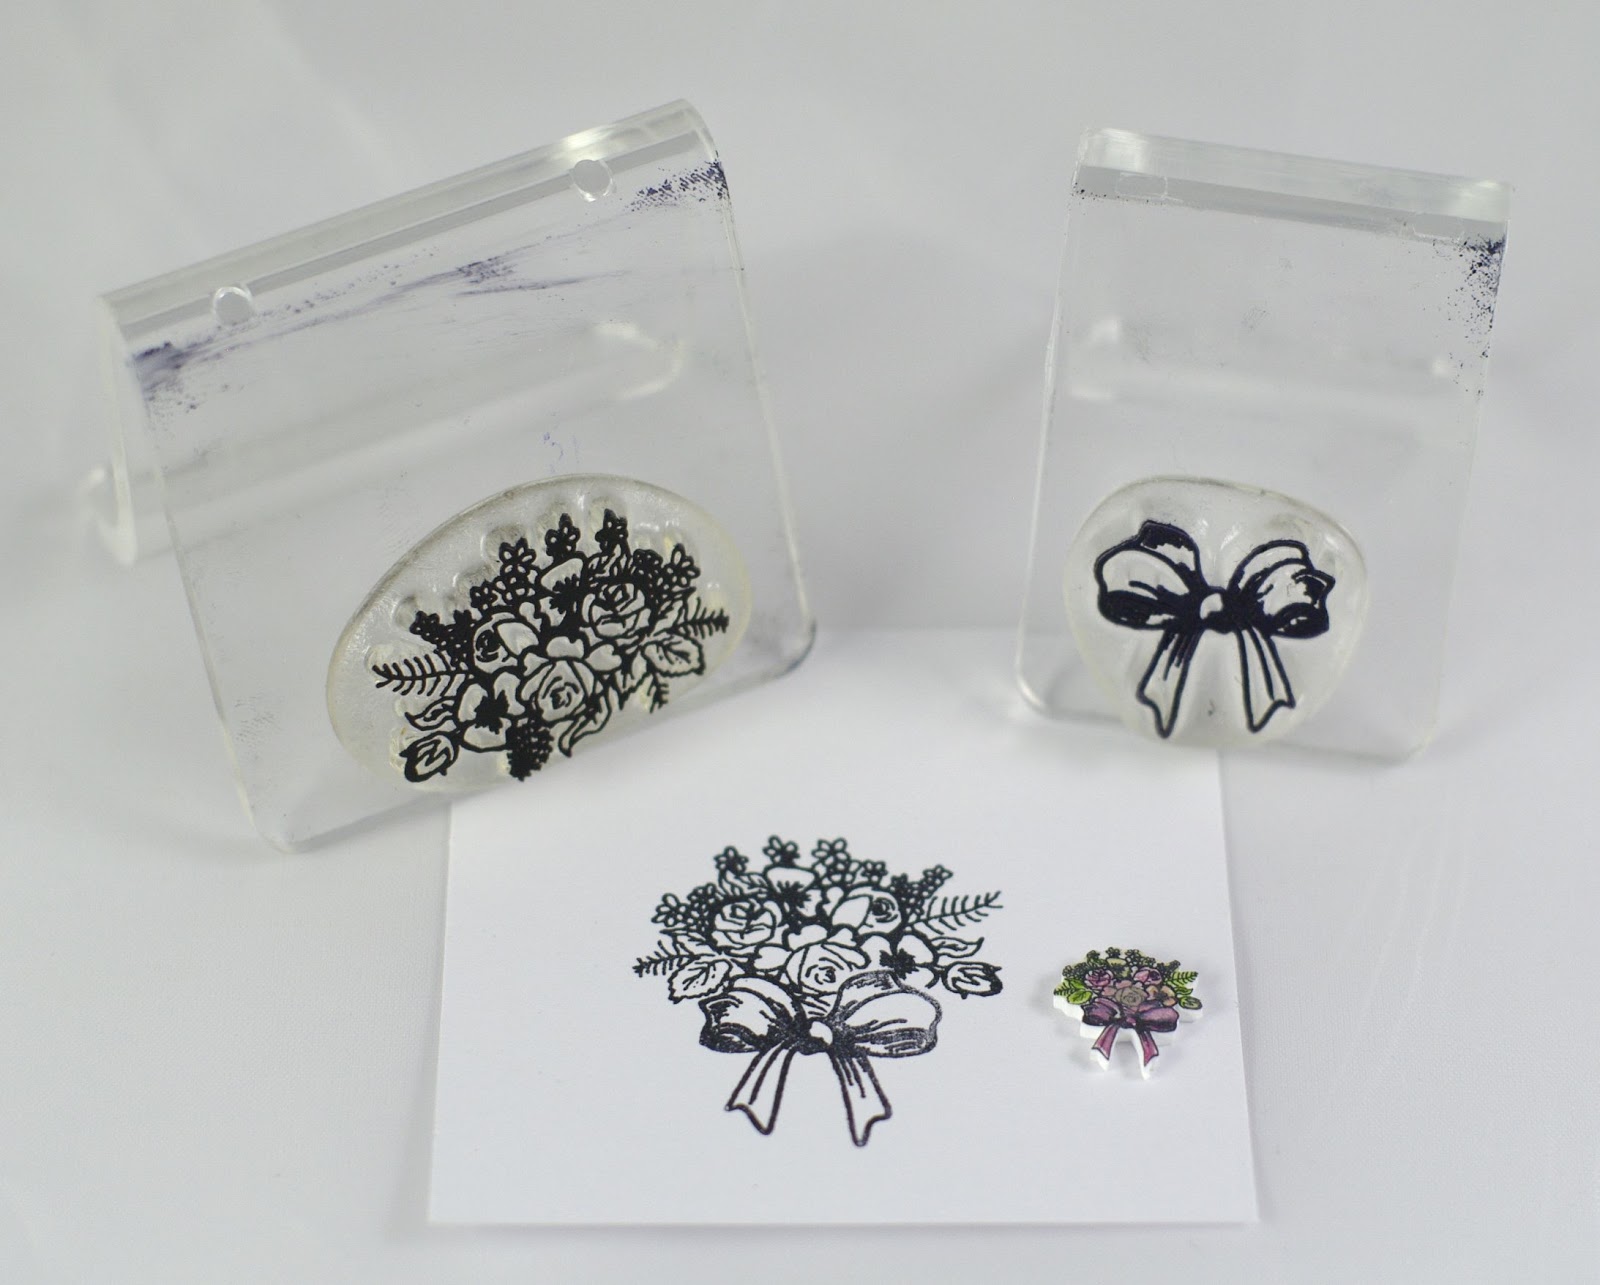
I wanted to do something different though and thought shrink plastic could be the answer. I took the flowers from the Garden Set and the bow from the Corners and Flourishes Set, coloured them in with watercolour pencils and shrunk them. Voila! Pretty little bridal bouquet.

It's all finished off with Sweet Pea coloured Flower Soft which Noreen McKie kindly helped me choose when we were at Harrogate. I'd only used the white for snow on Christmas cards before so she gave me some tips too. The main one was to use the proper Flower Soft glue. I dug mine out when we got home and had a closer look at it and it does seem to be thicker than my other PVA glues. The Flower Soft was still on the card when it was shown on TV so it did its job anyway.

I thought it looked really pretty when I'd finished it, but I never expected it to make quite such an impact. It could have been worse though, at several people have said to me, at least I didn't use Clarity's "To Have and To Hold" stamp!!!

Stamps Used
Bride and Groom - Annabel and Douglas
Guests - Rosie and Laurel

Lynne
x


Sunday, 7 April 2013

April's Clarity Samples

Another great weekend of shows from Barbara Gray. So many clever ideas from the Design Team too.


These are my samples.

Growing up on the Norfolk coast, the seaside stamps were just my thing. As you can see I got a bit carried away with shrink plastic and my Hunstanton postcard even inspired Barbara to take a trip there yesterday.

Douglas looked a bit like a conductor to me, so I made a musical themed card with him.  The other ladies joined him for a wedding scene, complete with Flower Soft confetti and a shrink plastic bouquet.

I went blue and made a Delft tile card with the stamps for Lesson 16.

The tree stamps card from Lesson 15 showcases my first attempts with Frantage and the Gelli plate.

I hope you'll come back as I'll be blogging them all individually over the next week or so.

Lynne
x


Saturday, 6 April 2013

I've Drawn a Boat!

Just a quick extra post today as I'm so excited! The new term of "In the Classroom with Barbara Gray" has started again on Create and Craft TV and I couldn't resist crafting along with Barbara. I even managed to draw the boat!!!!!!! That means there are two things I can draw now - birds on a wire and boats. All thanks to Barbara.


The texture stamps are great fun to experiment with and I enjoyed using them for my samples.  It's always great to see how Barbara intended the stamps to be used though, and the different ways that the DT used them.

I hope you'll join me again tomorrow when I'll be posting my samples from the weekend's shows.

Lynne
x

Friday, 5 April 2013

Meadow Dance Birthday Card

After publishing my 100th post yesterday, I thought it was about time I entered a blog challenge. The one I have chosen is over at the Less is More blog. The theme for this week is "Use Scallops".


This is a birthday card for my friend Connie. As she was born in Germany I thought it would be a nice touch to use some of my German Clarity stamps. The phrase means "After the rain comes the sunshine", which is a bit like our "Every cloud has a silver lining". I think it works really well with the Meadow Dance stamps as the characters look so full of joy.

I started off by stamping the Meadow Dance and tree in Black Archival ink, then I built up the scene around it. I inked up the Forest Ridge stamp in Adirondack Meadow then added some brown to the bottom of it. I stamped this onto copy paper, then used the second generation ink on the scene. This makes it more subtle as it's in the background.

I cut a template to match the horizon and used Adirondack Lettuce and Meadow on my Ink Dusters to fill the grass in with.

It's finished off with some fluffy clouds and a bright yellow sun.

Stamps Used

Lynne
x

Wednesday, 3 April 2013

Blooming Corner Birthday Card - Mum

I can't believe it but this is my 100th post. I've not really done any writing since I left school but I must admit I'm really enjoying being a blogger.

I'd like to start by congratulating Dawn Lawson, the winner of the first Clarity Stamp Challenge. I hope you enjoy spending your £50 prize. The entries were all so good and was a really hard task choosing our Top 5. In the end we picked Julie Owens, Linda Barton, Chris Hearn, Lin Henson, and Sally Newick. Congratulations ladies, your cards are all stunners.

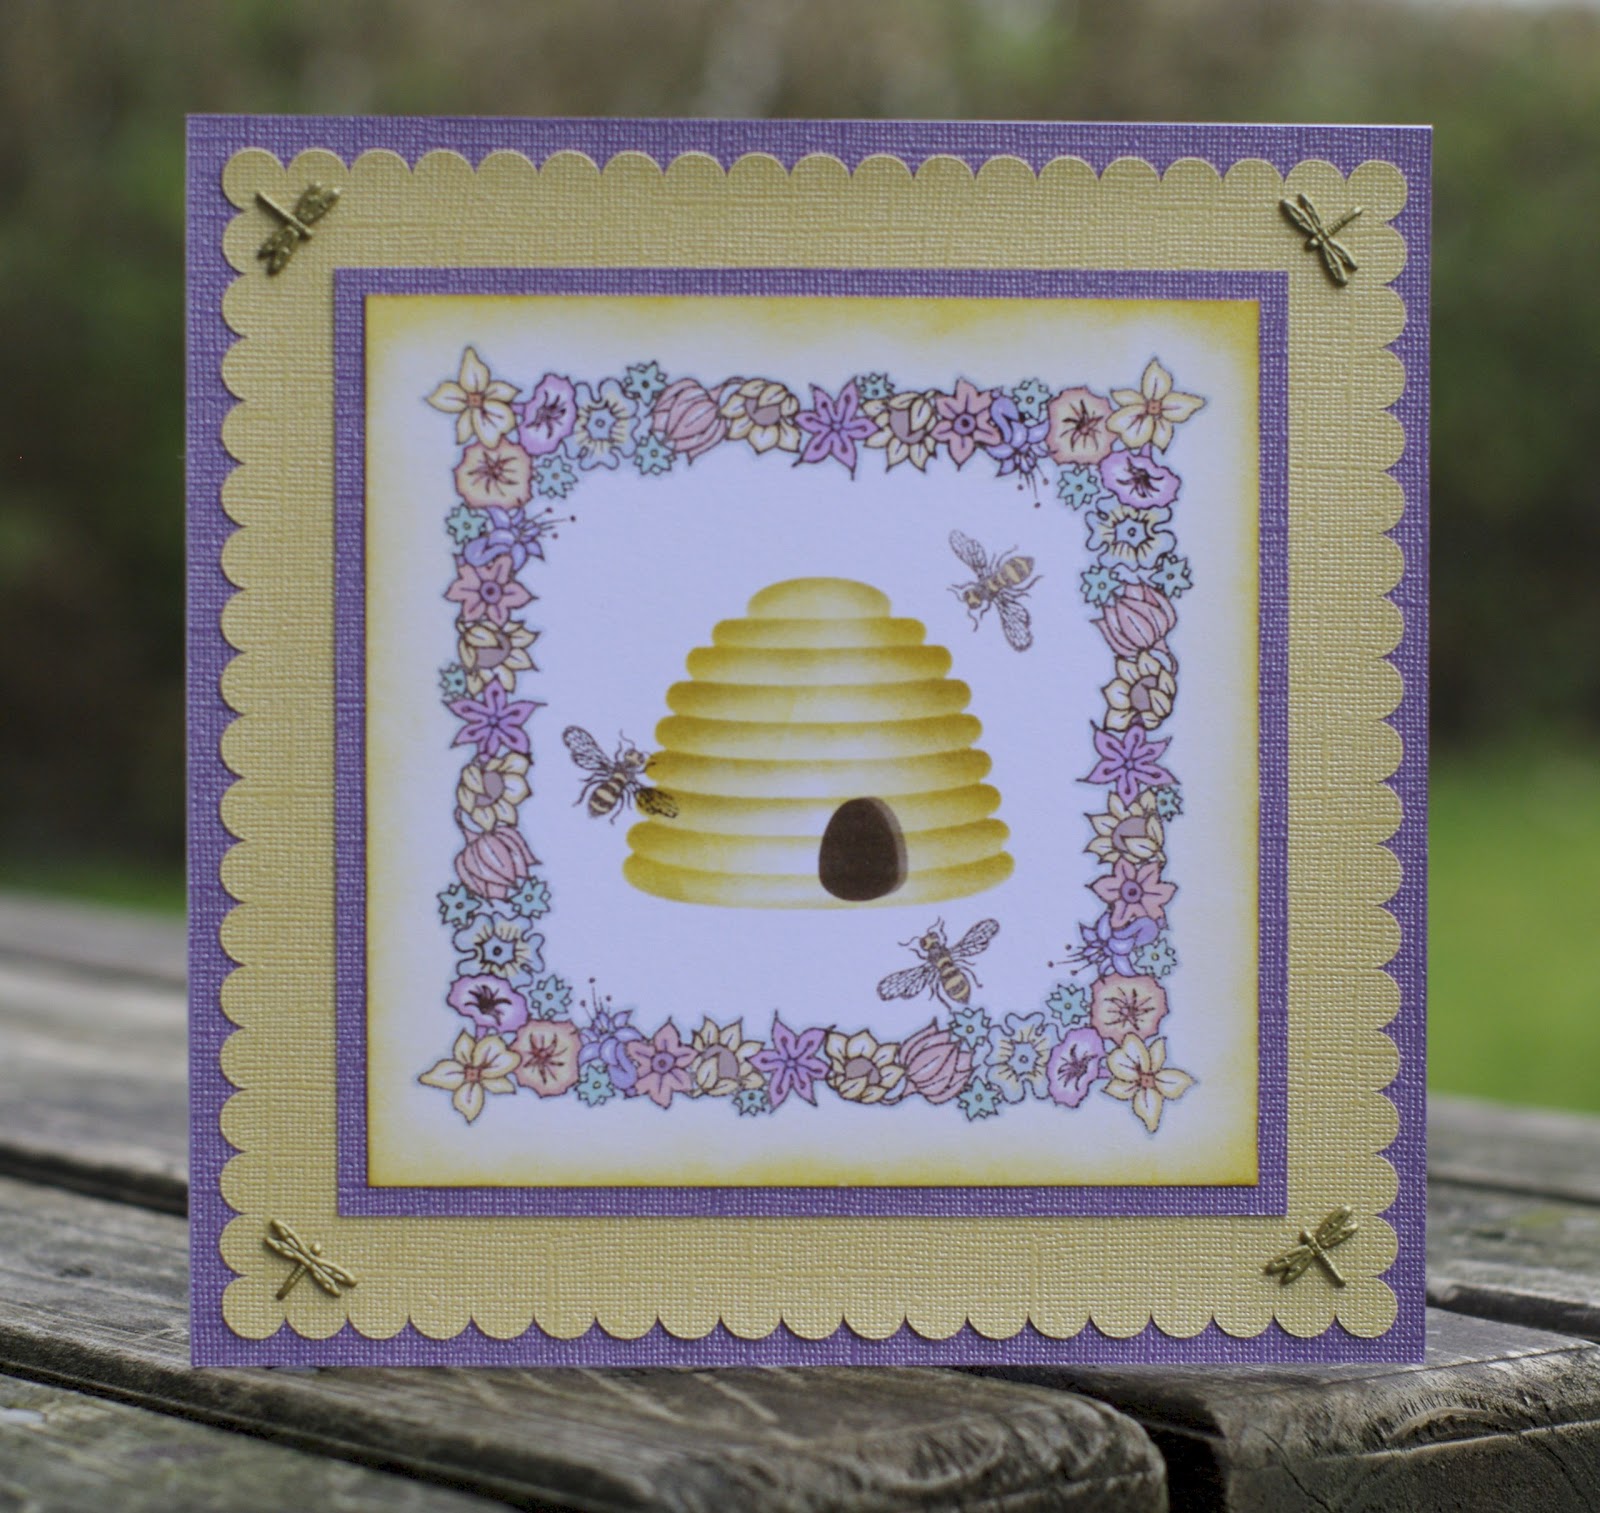
The Blooming Corner set from Lesson 6 last year was one of my favourites. I loved how Barbara taught us to colour the flowers in and make the skep. I sent my skep card to my Mum for her birthday so I wanted to think of something different to send in to Create and Craft for my homework. I ended up writing my name, LYNNE. The cards can be seen at the bottom of this post or you can read my original post about them here.

Anyway, as I mentioned before, as soon as I'd done LYNNE I realised that it would have been so much nicer to write MUM.


Well, I finally got around to making it for my Mother-in-Law's birthday and I was really pleased with how it turned out.

MUM is stamped in second generation Adirondack Espresso ink and it is coloured in with my ProMarkers.

Stamps Used
Happy Birthday and the sentiment at the bottom are by Chocolate Baroque.


There's only 3 more days until term starts again with Lesson 15 on at 11am on Saturday 6th April. I don't know about you, but I'm getting excited!

Lynne
x

Monday, 1 April 2013

In the Garden - Bunnies' Burrow Card

I can't believe it's already time for the second challenge of the Clarity Stamp Challenge Blog. It was lovely to see so many fantastic entires for the first one. If we get that many every month it will build up into a great inspirational gallery of Clarity card designs.

This month's theme is "In the Garden" and I just couldn't resist using the gorgeous bunny stamps.


The idea of this card is that you're looking out into the house owner's garden from the bunnies' burrow. They've been a bit cheeky and gone out to explore. I hope there aren't any carrots in the veg patch!


It's a theatre card that I made with my Hougie Board. I did a similar card last year with the 'Twas the Night stamps. That one was looking through a mouse hole. They are really easy to make - you just decide what size you want the front (mine is a 15cm square) and add 8cm to one side (so mine are 15cm x 23cm). Score each side at 2cm and 4cm then stick them together. I use wet glue for this.


The burrow idea came to me quite quickly but then I had to figure out how to create it - I didn't have any suitable papers and my painting skills aren't up to it. Eventually I had the idea of taking a photograph. I found a great spot at the side of the road when I was walking Maya; I love how the roots are sprouting through.

I printed this out onto card and drew a circle on the front where I wanted the burrow entrance to be. I ripped the circle out using the line as a guide to give the burrow a natural look then inked the edge.


I added the Home Sweet Home sign and the bunny slippers (cut on my Cameo from a design bought in the Silhouette Store) to make it look like you're inside the burrow. Although Hubby's just pointed out that each bunny should have 4 slippers (smart-arse!).  Mind you, I wonder if bunnies would wear cute human slippers?

I used my brayer and Ink Dusters to create the scene and coloured the images in with my ProMarkers. The shingle path was created with the texture stamps from Lesson 15. 


Well that's my take on "In the Garden", I look forward to seeing yours. Don't forget that there's a £50 Clarity voucher for the winner.  Good luck!

Stamps Used
Bunnies from the Remountable Bunnies Set 
Gardening bits from the Remountable Garden Set
Bushes made with this tree

Lynne
x
Related Posts Plugin for WordPress, Blogger...