Showing posts with label Shaving Foam Background. Show all posts

Monday, 9 March 2015

Fairies and Elves Card

Morning everyone. Did you have a good weekend?  My weekend's crafting went well, if a little slowly. I got my mum's Mother's Day card done on Saturday (I can't wait to share it!) and my friend Connie's leaving card made yesterday. Today I'm going to make my mother-in-law's.


This card is the second one I made with the Fairies and Elves Wee Folk stamps. This time I used it with the Japanese Reeds stencil.


The background was created using the shaving foam technique. I filled a tray up with shaving foam then spritzed on Tattered Angels' Glimmer Mists (Lavender Fields and Sapphire) and swirled it around before taking the print. The Glimmer Mists have mica in them so they give a slight shimmer to the background - I wanted the sky to look magical.

I wanted to keep the moon white so I cut a mask the same size as the stencil's moon and used that instead. I put that in place before I took the print.

I then used the Reeds stencil and inked through Black Soot Distress Ink..............


..................before going over it with Diamond Sparkle Medium. This is a clear sparkly gel so it gives the black underneath a lovely sparkly finish.

The Fairies and Elves are stamped in Jet Black Archival and it's finished off with some holographic glitter on the stars and some clear Sakura Stardust pen on their wings (just in case it wasn't sparkly enough!).

I do like the background but I can't help thinking that my magical sky looks more like a magical sea. I do hope my fairies can swim!

Stamps and Stencil Used

Lynne
x


Sunday, 19 October 2014

Foamery

Hi everyone. Oops, I just noticed that it's been a week since I last wrote anything (my blogging mojo seems to have gone AWOL lately). I hope you're all keeping well. I know lots of you are off to the Stamp Magic Show at the Doncaster Dome today so I hope you enjoy it. Hubby is diving today so I'm stuck here without a car and can't go. It's probably just as well though as I have next month's Claritystamp samples to make.

This is another of this month's and explains this post's strange title.


Hubby asked what I was doing when I was making it, so I told him I was making scenery with shaving foam (and ink). He then named it "Foamery" and I thought it suited it.

My idea was to make something a bit more realistic (that's not quite the right word but I can't think of a better one at the moment) than a random shaving foam background i.e. a green grass hill and a blue cloudy sky.

I forgot to take photos of this version but I did take them on my first attempt, so these are what you're seeing next.


The first thing I did was prepare the background card for work on the sky by masking off where I wanted to put the sun and grass.


I then got a layer of shaving foam in a plastic box, added some drops of blue Alcohol Ink and swirled it around with a pokey tool. I did a lot of the swirling horizontally to add to the cloudy effect.


When I pressed the card in I was got this - my cloudy blue sky. I sponged a bright yellow sun into the masked off section I'd left for it.


I then masked off the sky and did the same sort of thing to create the grass. Only this time I used several green inks and a sort of horizontal flicking motion with the pokey tool. I thought this would look like blades of grass but Hubby pointed out that if I'd done it horizontally it would have given the effect of hills. I like my grass though. I dipped it in several times, building up the colour until I was happy with it (I wanted a more solid colour than I did for the sky). I also used some ink on a sponge to create some shadow and depth around the edges.

It's one of those things that turn out different ever time (I prefer the grass in my first attempt, as there is more detail in it, but I like the sky better in today's card), that's part of the fun though.

That's the "Foamery" part explained, now for the rest.

It's all stamped and sponged in Jet Black Archival Ink. If you have a really keen eye you may have spotted that my tree looks a bit different to the stencil..........


.........there was a bit of a gap in the top right hand corner so I added in another bird from the boy stamp.

Stamps and Stencils Used

I'd better go and walk Maya now, then I have the rest of the day to spend in my craft room. See you soon,

Lynne
x


Saturday, 19 October 2013

SCUBA Diving Card

If you've been reading my blog for a while, you might remember my Roseart Vase Card with a Shaving Foam Background that I made last Christmas (if you don't the post on that can be found here).


If you look at the photos in that post you will see that the first print Mum and I made was green. I really liked it but thought that the other colour was better for the vase project, so its been sat in a box since then waiting to be used - when I saw the Neptune stamp I realised its time had come.

If you want to know about how we made the background it's all in the other post. This time it was just a case of doing the stamping and colouring it in with ProMarkers. Unfortunately I didn't have any large Clarity sea creatures to use with it, so I cut a diver out from the Silhouette Store on my Cameo. It was inspired by my Hubby who is as obsessed with his diving as I am with my stamping.


A spot of Glossy Accents on the bubbles adds a bit of texture. "Happy Birthday" stamped with the Letter Box and Numbers sets finish it off. 

I couldn't resist the Tropical Fish Set when it was on at the weekend so I might have to make another version with them.

Stamps Used
Neptune from the Remountable Patterns Set

Lynne
x

Sunday, 13 January 2013

Roseart Vase Card with a Shaving Foam Background

Firstly apologies for not posting sooner. On Monday I was typing away when all of a sudden my screen went black! My poor iMac is now in hospital being fixed. Hubby has kindly lent me his laptop so I can finish this post. Thank goodness for auto save!

I thought I'd better blog this card first, as I've had a few people ask me questions about the shaving foam technique I used to create the background. It comes from Dawn Bibby's Stamps, Stickers and Stencils DVD.

The finished card. Made using the Clarity Roseart set of stamps. The verse on the little tag was stamped on shrink plastic.


A close-up of the vase. This is also made with the same marbled paper as the background. The Roseart stamp is stamped in Versamark and heat embossed with Metallic Gold Sparkle Wow! powder.  

I was a lucky girl at Christmas as Mum and Dad bought me some new Spellbinders dies. This is from the Floral Ovals set and was cut out of Centura Pearl card. 

As they are so intricate the first time I used them I had a nightmare trying to get the card out of the die. It also took a few passes through my Calibur to cut it fully. I've since bought some Cut Rite Wax Paper from Joanna Sheen and it is brilliant. The die cuts first time and the card comes away from the die really easily. It's also a lot easier to remove the little pieces that are left behind. I'd previously tried baking parchment from the supermarket. It was better than nothing, but nowhere near as good as the waxed paper.


A close-up of the paper. You can't really see the shimmer from the sprays in the photo. In real life it looks so pretty.

Now here's how it came about -

I'd already made one card using these stamps (the green and red one) and was trying to think of ideas for another one. Mum said "What about a pretty background using Dawn Bibby's shaving foam technique?". We went out and bought some shaving foam and started playing.

Stupidly I didn't think to take any photos until we'd done most of it, but it's fairly simple.

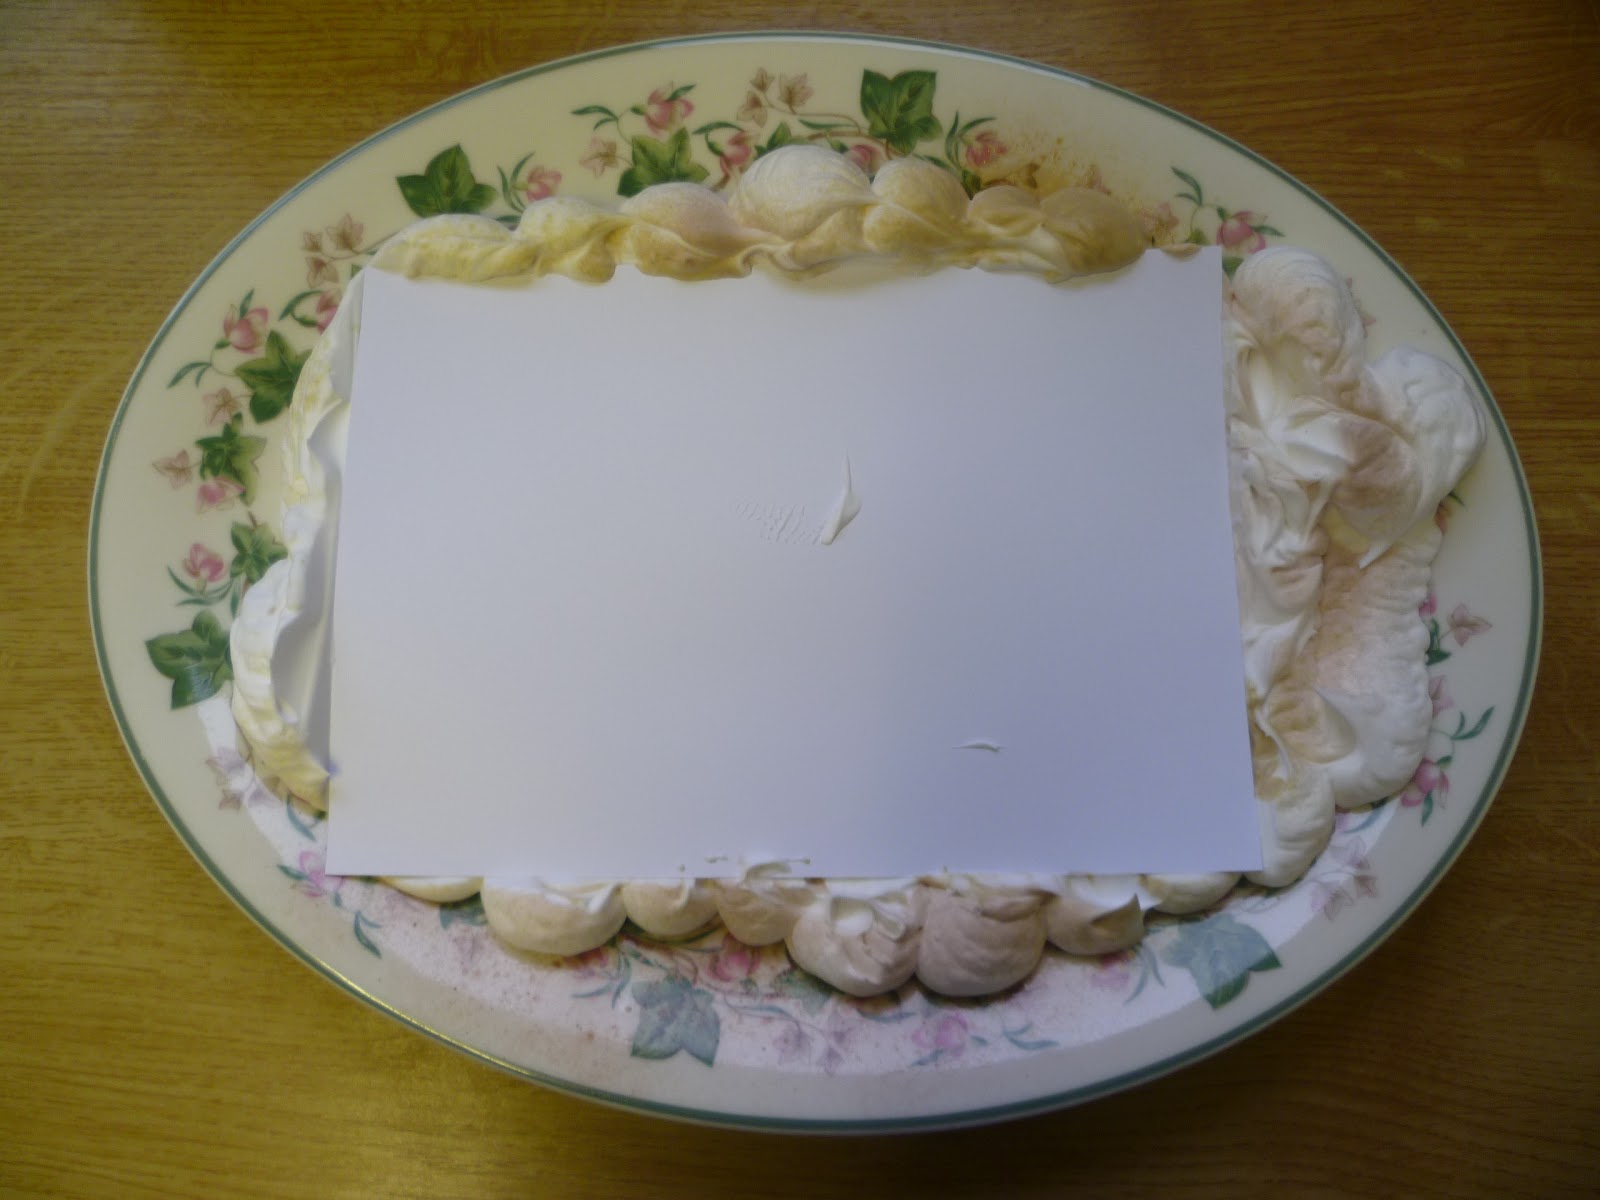
1)  Spray a nice thick layer of shaving foam onto a plate.

2) Spritz with mica sprays. We used Dawn Bibby's Shimmer Spritz in Rosie Ritz and Golden Glitz that came with the DVD when it was a TSV on QVC. The green paper that is in a later photo was made with the addition of some green Glimmer Mist.

3) Create a marbled effect in the inky foam by swirling it around with a pokey tool (or something similar).


4) Put the card (we used Theuva) onto the foam and press down. You may need to do this a few times to cover all of the card. It really depends on the look you want to achieve.


5) Remove the card and wipe away the foam. This can be done straight away. As we were in the kitchen I grabbed a non-stick fish slice to remove the foam. It worked really well but don't tell Hubby! 

Apologies for all the crap in the background of this photo. I was going to clear the sink before we got started but Mum was so keen to play that she'd already started before I'd had the chance! We did it the day after Boxing Day and if you look closely you might see my homemade sausage rolls in the Lock n Lock!!! 


When it has dried you are left with beautiful backing papers.

Lynne
x

Related Posts Plugin for WordPress, Blogger...