Saturday 29 December 2012

Spellbinders Bauble Card

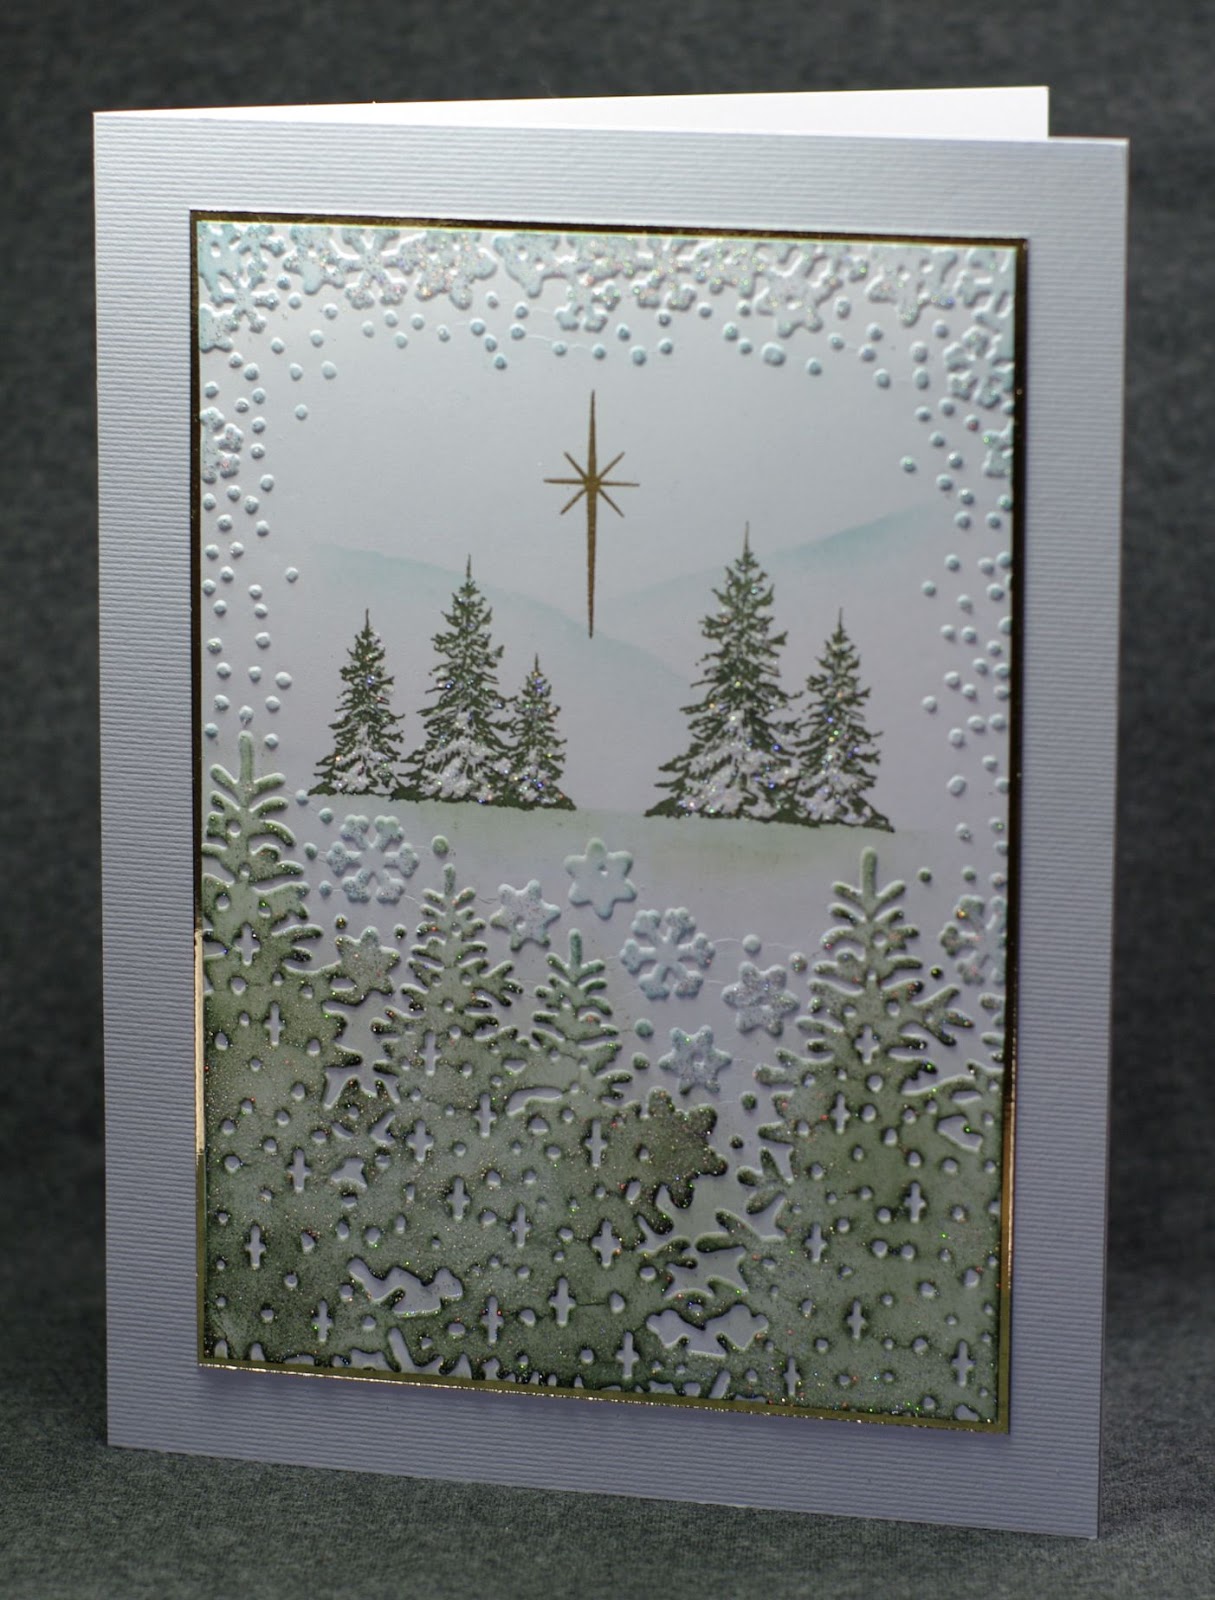
Now I could say that I'm sharing this card to encourage you all to start early for Christmas 2013, but I'd be lying! It was one I made for the German shows and didn't get it blogged before Christmas.

I hope you all had a good Christmas. It was a strange one here, hubby and I are still suffering with our colds but somehow Mum and Dad, who were here for a week, managed to avoid catching it. We probably weren't the best company but it was nice to be together. Mum and I spent Boxing Day and the 27th working on the samples for January's shows and I've been finishing them off today. They are a bit of a family affair as I even had hubby doing some drawing on one card for me today. Apparently that's the best bit! :-)


This is an 8x8 card made with a Spellbinders Grand M-Bossibilities folder and Heirloom Ornament (2011) die. The stamps are by Clarity


I stamped the star in purple first, then went over it with Versamark and Stardust embossing powder to make it sparkle.

I had originally intended for the bauble to hang loose in the frame I cut on my Cameo, but as it was for a sample I was worried about it falling off. In the photo it looks like the bauble has a purple mat around it but it is in fact acetate. It's like the filling in a sandwich, holding it all together.


I put a sheet of purple card on the back so that it shows through the acetate from the front. 

Lynne
x


Saturday 22 December 2012

Spellbinders Winter Wonders M-Bossibilities Cards

Well it's getting near to the big day and I think everyone will soon have had enough of Christmas cards, but there are a few I'd like to share. I thought I'd group these cards together as they all use the same Spellbinders M-Bossibilities folder - Winter Wonders. 


This was the first card I made with it.  It was for one of the German shows.  I inked the raised parts then covered them in Versamark and Stampendous Stardust embossing powder.  The star is heat embossed in gold.


This was one using the Clarity Winter Wonderland stamps from Lesson 14.  This time I used Kaleidoscope embossing powder. It's not photographed very well, but in the flesh it looks sparkly, although very different to the Stardust.


This one uses a couple of really cute penguin stamps by Hobby Art. I love penguins and just couldn't resist them.


I had lots of Christmas card ideas when I was making my samples these past few months. Unfortunately I ran out of time so I ended I making a batch of these and some quicker cards from a kit (bad Lynne!). I will try and be more organised next year, although I suspect I probably won't.

Christmas is not off to a great start in my house, both Hubby and I have stinking colds.  I'd much rather be curled up in bed with a mug of mulled wine (for medicinal purposes of course) than Christmas shopping.  I am sure it will all get done though - if not I hear chocolate makes a great Christmas dinner!

Lynne
x

Monday 17 December 2012

La Dame & Paris Skyline Cards

Things are so hectic at the moment that I don't seem to have time to do anything, so I thought I'd blog these last two cards together. It may be a few days before I can blog again and I still have some Christmas cards that I want to share before the big day.


This first one was done on coated Clarity card with Wild Plum and Eggplant Adirondack ink pads.  I started off by stamping the flower and a crackle stamp in Versamark around the edges before I added the colour with my brayer. I spritzed it with water and scrunched on some cling film for the base layer. Then it was just a case of masking areas off and stamping and brayering away. The new Skyline masks are great to use and a lot easier than cutting them yourself.


I tried to do something different with my second card. It's stamped on Theuva card and coloured in with ProMarkers. I cut the aperture on my Cameo and the La Dame stamp is matted behind on 3D foam pads to give it some dimension, almost like you're looking through an archway.

I stamped the roses around the arch in green, so that the leaves would be that colour. Although the flowers are both coloured in the same pink they look very different to the one in the main image that was stamped in black.  Very strange.

It's funny, when I saw them in the flesh I preferred the purple one, but looking at the photos I think the white one looks nicer. Which is your favourite?

Hopefully I'll be back in a few days to share the last of my Christmas cards from this year. I hope your preparations are all going well

Lynne
x

Thursday 13 December 2012

Musical Note Card

I'm having one of those mornings where nothing is going right, so I thought I'd take a break and do a spot of blogging.  Hopefully that will be more successful.

I'm working on the Clarity samples for January and I've just tried to stamp a scene out four times. Each time something has gone wrong and it's ended up in the bin. I think sometimes you just need to put everything away and start again tomorrow.


This is another of my cards from this month's show. I chose the colour scheme very carefully - I went into my ProMarker box and found my brightest, most shocking, pink - Magenta.  It's quite a dramatic colour!

The stamping is all done with Black Archival ink which I left to dry overnight before colouring in with my Magenta pen. I also used this to colour some white card for the matting and some seam binding to give me a lovely matching ribbon. I already had some pink gems that were a similar colour, otherwise they would have had the ProMarker touch too.

Lynne
x

Tuesday 11 December 2012

Wallflower Bookmark Card


This card was a combination of two ideas; the three flower heads suggested a bookmark and the floral corner a pocket.  Join them together and you have a card with a pocket for a bookmark!  I was so pleased with the finished result.

I started off on copy paper to work out the size and positions but the finished card was stamped on some beautiful double sided K & Co paper.


I think you can probably see how I did it but just in case you can't here's my prototype. This is the pink side of the paper...........


and this is the cream side. I adjusted the size of the bottom section to fit once I'd chosen my ribbon and the Dream stamp. 

Once I'd done all of the stamping and colouring I stuck it together to make the pocket. I was then able to add the ribbon before I stuck it to the base card. This also hid the ends of the ribbon.


The bookmark was cut on my Cameo but you could easily do one by hand.  I went through a tassel phase a few years ago so I dug one of them out to finish it off.

Lynne
x


Sunday 9 December 2012

Wallflower Tiles Card

For this card I used the new Clarity Wallflower stamps and Barbara's tile technique from Lesson 7.


I stamped the images with black Adirondack ink and coloured them in with ProMarkers. Then I covered the square with Versamark ink and heat embossed them with Ranger UTEE (Ultra Thick Embossing Enamel). I did this three times in order to give it a smooth, glossy tile-like finish.

When I did it the first time I used dark colours like Barbara. However for this card I decided to go pale. This was looking good until I embossed them and strange marks appeared on the front. When I finished I realised what the problem was - I'd got embossing powder on the back which had also melted and gone through to the front. It was most noticeable on the single flower head images as they're a lot plainer than the others, so I had to do all of these again. I was careful to wipe off the powder from the back this time. If I was to do it again though I would use dark colours or thicker card.

My Perfect Layers ruler made doing the black mat around the tiles easy; I do love the 1/16th" one.

Lynne
x

Thursday 6 December 2012

Balloons Thank You Card

It made me laugh when I saw this one on TV. Two other Design Team members, Emma and Kelly, had done pretty much the same card!


I stamped my balloons in Memento ink then coloured them in with a matching ProMarker. I repeated this for each ballon and stamped the letters of "Thank You" on them. I then cut them out so I could decoupage them. Before I stuck them on I used a large ball tool, like I did on my Hot Air Balloon card, to give them some shape. A large blob of Pinflair glue gel was then used to attach them. This will also help them keep their shape.

It was looking a bit boring at this point so I decided to add some clouds and treetops. 

Thank you for reading.

Lynne
x

Tuesday 4 December 2012

Oriental Scene Card

I haven't made an oriental card for ages, so I was quite excited when this lovely new Oriental set arrived from Clarity. Dad used to keep koi carp so they were great to make for him, but since he stopped I've done different things for his cards.

I had a quick Google to get an idea of what the scene should look like. Mum and Dad had the water idea and the scene slowly evolved.


The temple seems to be pretty symmetrical so it makes the refection really simple. I started off by stamping the water lily in the bottom corner and masking it off. Then I stamped the refection of the temple in second generation black Adirondack. I stamped the main image above using black Archival as this gives a much blacker image. 

I don't know if you recognise it but the tree is actually from the Daydreamer stamp. I thought it was the most oriental looking of my Clarity trees. Once I had worked out where they needed to go I stamped them onto my Splodgemat and then pressed the card down onto the image to transfer the ink. This gave me the reflection, which I matched with the trees above.

I did the water with my Ink Dusters, trying to get a few lines to give the effect of ripples on the water. I sponged the tops of the mountains and brayered the bottom. I also brayered the sky.

I know you're not supposed to be able to use ProMarkers with Archival ink but I did and it seemed to work fine. I did leave the image to dry overnight before I coloured it though. I wanted the reflection to have a bit of colour too so I got out my coloured pencils for that. 


I finished it off with a nice oriental looking frame bought from the Silhouette Store and cut on my Cameo. I did try a few embellishments on the frame but decided I liked it how it was. Since then Mum has sent me a little box of oriental coin embellishments so I'm sure they'll appear on future cards.

Lynne
x

Sunday 2 December 2012

December's Stamping with Clarity Shows

It seemed to work well last month so I thought I'd do the group shot again. Then I can blog the individual cards throughout the month.

There were some fantastic cards from the rest of the Design Team and as always I've got lots of new ideas.

Here are mine. I hope you like them. Luckily the Oriental scene is first in the photo so that will be the first one to be blogged. It was one of my favourites (the other being my bookmark card) but it wasn't shown on TV. I could see it sat there waiting to be picked up but it never happened. Poor card! :-)


Sorry that the photo isn't great but it was a really dark day when I took it. My lesson samples aren't on there as they'd already been sent to Clarity. The snow globe was blogged yesterday.

Now the shows have finished I'd better get back to my Christmas cards. Lots of penguins to colour and cut out!

Lynne
x

Saturday 1 December 2012

It's December!

It's the first of December today.  Barbara Gray has been on TV with a fab Classroom show and I've started to put up my Christmas decorations (although I still haven't finished my cards).


I bought this snow globe in Hobbycraft. It was £1.99 and meant to hold a photo. I thought it was perfect for the Lesson 14 Winter Wonderland stamps. Hubby (who thinks our house looks like Santa's grotto at Christmas) thought it was a bit tacky but I thought it was great fun. I bought several of them so I might just put a photo of myself in one and give it to him at Christmas!!!!


My advent Calendar is always one of the first decorations to go up. It's a Bucilla felt kit. I've also made three stockings, a wall hanging, and half of a tree skirt. They are so cute and people always comment about them when they come to the house.

Better go and put the lights on the new tree as it's looking a bit naked. Tomorrow it's up into the loft for hubby to get the rest of the decorations down. Operation Santa's Grotto has begun!

Lynne
x
Related Posts Plugin for WordPress, Blogger...