It's time for a new challenge on the
Clarity Stamp Challenge Blog. This month's theme is "Animals" and I've made a Gelli print butterfly clock.
I'm no "Clock Lady" (our very talented DT member Karen Claire) but I really enjoyed making this. It's always fun to try something new.
I bought the IndigoBlu clock kit at the GNPE Harrogate back in March with this idea in mind but I just didn't get around to making it. The animal theme finally gave me the kick up the backside that I needed.
I started off by covering the MDF base in some gesso and followed that by a couple of coats of cream acrylic paint. Then the fun began - I thought I would be brave and Gelli print straight onto it.
The first layer uses the Trellis stencil and Raw Sienna paint. I then went over that with Oxide of Chromium Green and the Ocean Swirl stencil. To finish off the base I added some Distress Ink around the edge.
The stamping is done in Black Archival ink and the butterflies are coloured in with Distress Ink which I sponged through an aperture. Some gold ink was added to the butterflies' thoraces at 3, 6, 9 and 12pm.
The second hand is a really garish red colour which didn't go at all with the rest of the clock, so I coloured it with some gold Alcohol Inks. I applied it quite roughly so that some of the red still shows through. This gave a really good colour match to the Raw Sienna and it now blends in really well.
Stamps Used
Stencils Used
Stamping in a Circle Tutorial
At school I was more at home in a Maths lesson than an Art one. I think that probably shows in my style. Anyway, it sometimes comes in handy and I haven't needed to buy a gadget to do it.
I started off with a piece of 12 x 12" card and drew lines from corner to corner. This is an easy place to start as you don't have to measure anything.
As I'm making a clock I then mark every 30 degrees.
This gives me 12 equal sections.
I then worked out where I wanted the butterflies on the clock and drew a circle that diameter.
This is how I want the butterflies to line up.
I transfered the marks where the circle crosses the 12 lines onto a piece of paper the same size as the circle and use that to mark the points on the clock. I am aiming for the bit where the antennae meet the body to hit the mark on the clock, giving me 12 evenly spaced butterfly "numbers".
Whilst I am doing this tutorial I thought I would also explain how I stamp in a circle when I want this wings to meet. I used this technique on
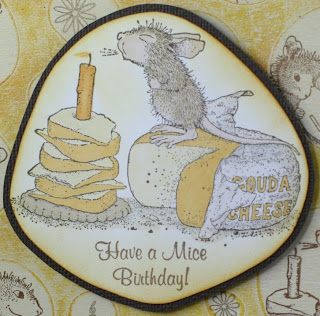
this card.
It's exactly the same as before, although once I've marked the sections at 30 degrees I would added a dotted line in between at 15 degrees. I can then slide the stamp up and down the main line until the edge of the wings hits the dotted lines.
I then draw a circle at that diameter and they all line up perfectly.
I know with a clock you could probably place them by moving the hour hand around and marking it, but this technique is accurate, great for card making and it appeals to my inner geek!
I hope you enjoyed my project and tutorial. I look forward to seeing what everyone else creates. The rest of the DT have done a fab job. Don't forget that there's a £50 Claritystamp voucher for the winner. It's chosen at random so everyone has a fair chance.
Congratulations to the winner and the Top 5 of the "Oh I Do Like To Be Beside The Seaside" challenge. Your cards are fab and it's so lovely to see them all.
Lynne
x


